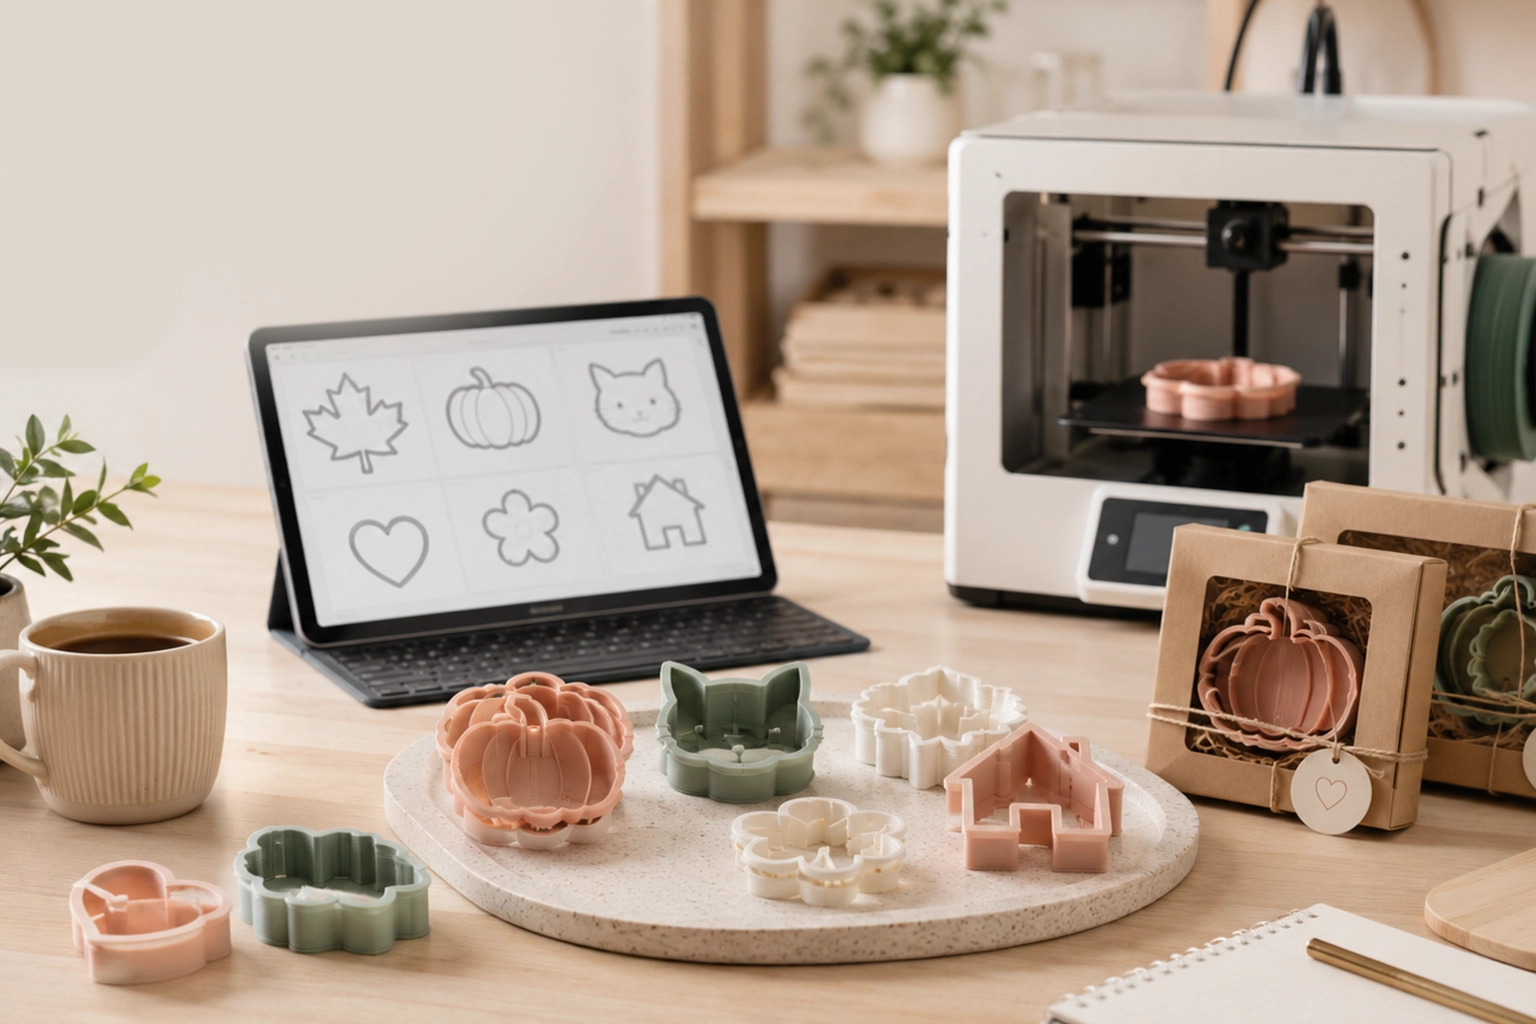

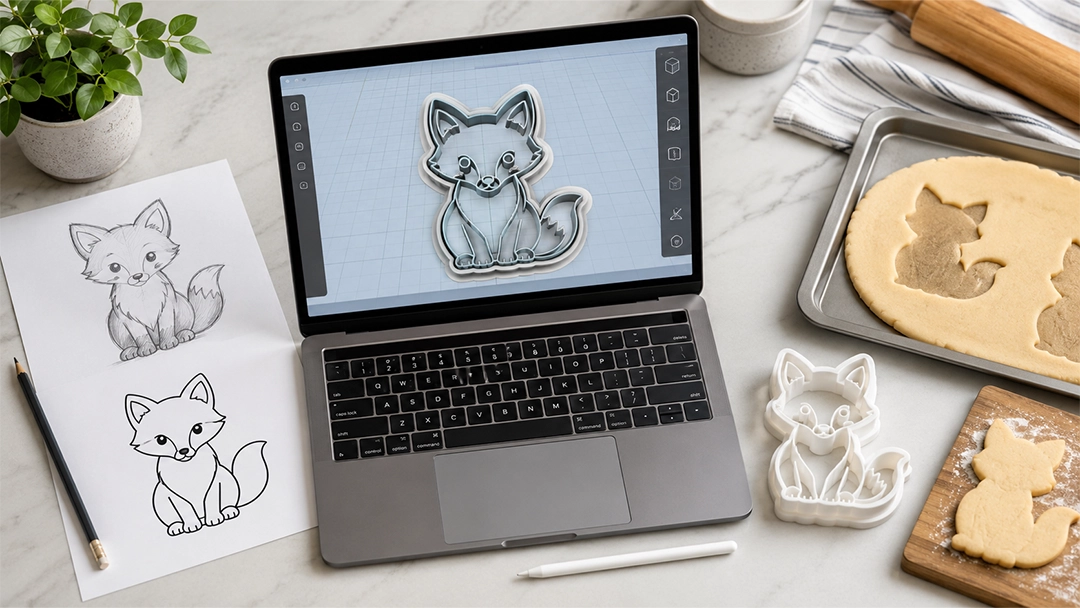
Many custom cookie cutter ideas start with something simple: a sketch on paper, a business logo, a child’s drawing, a party theme, a pet silhouette, or a reference image saved on your phone. The creative part is usually easy. The harder question is how to turn that flat idea into a cookie cutter that can actually be 3D printed, used with dough, cleaned, and reused.
If you want to make a cookie cutter from a drawing, logo, or image, the most important step is not the printer itself. It is the digital file behind the cutter. A good cookie cutter STL file controls the outline, cutting edge, wall thickness, handle height, scale, and overall usability. A weak file may still print, but it may not cut cleanly or hold up well during real use.
This guide explains how the process works, what kind of artwork makes the best starting point, and why a clean, print-ready STL file is the key to turning a custom cookie cutter idea into a practical tool.
Why Drawings and Logos Work So Well for Custom Cookie Cutters
Custom cookie cutters are popular because they turn personal ideas into physical products. A bakery may want a logo-shaped cookie cutter for branded treats. A parent may want a cutter based on a child’s drawing. An Etsy seller may want a seasonal set of unique shapes. A small business may want cookie cutters for events, packaging inserts, or promotional gifts.
Drawings, logos, and images work well because most cookie cutters begin as outlines. The outer silhouette becomes the cutting path. Internal lines can sometimes become embossing details, stamp features, or decorative impressions. With the right digital preparation, even a simple image can become a usable 3D printed cutter.
The important detail is that not every image is automatically ready for production. A drawing may have rough edges. A logo may include tiny text. A reference image may have shadows or background noise. Before it becomes a cookie cutter STL file, the design usually needs cleanup, simplification, and conversion into printable geometry.
If you already have artwork and want to turn it into a cutter, a cookie cutter STL builder can help bridge the gap between flat image and printable 3D model.
How to Make a Cookie Cutter from a Drawing
To make a cookie cutter from a drawing, start by choosing the clearest version of the artwork. A bold outline is usually easier to convert than a shaded sketch. The best drawings for cookie cutters have a clear outer shape, limited tiny details, and enough open space for dough to release cleanly.
A hand-drawn image does not need to be perfect, but it should be readable. If the drawing has overlapping lines, very small points, or fuzzy edges, those details may need to be cleaned before the STL file is created. Cookie dough is softer and less precise than a screen, so tiny decorative details that look nice in a sketch may not always cut well in real dough.
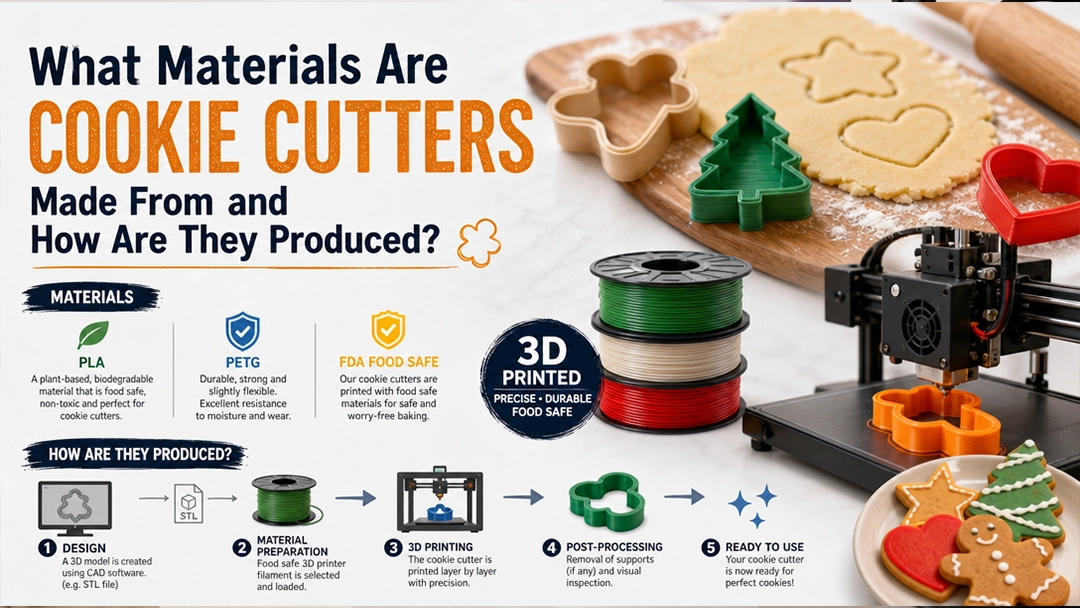
The basic process usually looks like this:
- Scan or photograph the drawing. Use bright, even lighting and avoid shadows across the paper.
- Clean the image. Remove background marks, extra sketch lines, and unclear edges.
- Simplify the outline. Keep the recognizable shape, but remove details that are too small to cut cleanly.
- Convert the outline into a 3D model. The flat shape becomes cutter walls, cutting edges, and a top rim.
- Export a printable STL file. The file is then prepared for slicing and 3D printing.
- Test the cutter size. Check whether the final cookie size works for baking, packaging, and decorating.
The goal is not to preserve every tiny mark from the drawing. The goal is to keep the character of the idea while making it practical as a cookie cutter. A good design should cut the dough cleanly, feel comfortable to press, and release without destroying the shape.
How to Turn a Logo into a Cookie Cutter
Logo cookie cutters are useful for bakeries, cafés, event planners, corporate gifting, product launches, and small businesses that want branded cookies. But logos need a slightly different approach than simple drawings because brand marks often include text, fine lines, symbols, and negative space.
The first step is deciding what part of the logo should become the cutter. Some logos work best as an outer silhouette. Others may work better as a cutter and stamp set, where the cutter creates the outside shape and the stamp presses the logo detail into the dough. If the logo includes small lettering, the text may need to be enlarged, simplified, or converted into an embossing feature rather than a cutting edge.
A custom logo cookie cutter should be designed with dough behavior in mind. Thin lines can tear. Tiny gaps can trap dough. Sharp internal corners can be hard to clean. A good digital model keeps the logo recognizable while adjusting the geometry for real-world use.
For example, a round bakery logo might become a circular cutter with an internal stamp. A pet brand logo might become a silhouette cutter with one or two embossed details. A company mascot might need a simplified outline so the finished cookie still looks clear after baking.
If your logo is ready but not yet printable, you can use an AI STL generator to move from image-based artwork toward usable 3D geometry that can be refined for cookie cutter production.
Cookie Cutter from Image vs Cookie Cutter from STL File
A common point of confusion is the difference between an image and an STL file. An image shows what the cutter should look like. An STL file tells the 3D printer what to build. They are not the same thing.
A PNG, JPG, SVG, or PDF can be useful as the starting reference, but a 3D printer usually needs a 3D file. For cookie cutters, that file is often an STL. The STL contains the actual cutter geometry: height, thickness, edge shape, walls, and any raised or recessed details.
File Type What It Does Cookie Cutter Use JPG or PNG Flat image with pixels Good as a visual reference, but needs cleanup and conversion SVG Vector outline Helpful for clean shapes, but still needs 3D cutter geometry STL 3D surface geometry Used for 3D printing the actual cookie cutter 3MF or OBJ Alternative 3D file formats May be useful depending on the software or printer workflowThis is why downloading or uploading an image alone is not always enough. The design still needs to become a printable model. A strong print-ready cookie cutter STL file should be scaled correctly, have clean geometry, and include practical features for cutting dough.
What Makes a Good Cookie Cutter STL File?
A good cookie cutter STL file is designed for real use, not just for looking good in 3D preview. The cutter needs to print reliably, cut dough cleanly, and feel stable in the hand. Small design choices can make a major difference.
The most important details include:
- Clean outer outline: The shape should be recognizable without relying on tiny details that may disappear after baking.
- Proper wall thickness: The walls should be strong enough to print and use, but not so thick that they crush the dough.
- Usable cutting edge: The lower edge should be fine enough to cut cleanly while still being durable enough for handling.
- Comfortable top rim: A thicker rim or handle area makes the cutter easier to press into dough.
- Correct height: The cutter should be tall enough for typical rolled dough and easy to remove after cutting.
- Smooth geometry: A clean, watertight STL helps avoid slicing issues, failed prints, and weak spots.
- Practical scale: The finished cookie size should match your decorating, baking, packaging, and selling needs.
This matters especially for small shops and handmade sellers. If you plan to print several cutters for a seasonal launch, a weak STL can waste filament, print time, and testing materials. A clean file gives you a better starting point before you commit to a full batch.
Should You Use PLA Filament for 3D Printed Cookie Cutters?
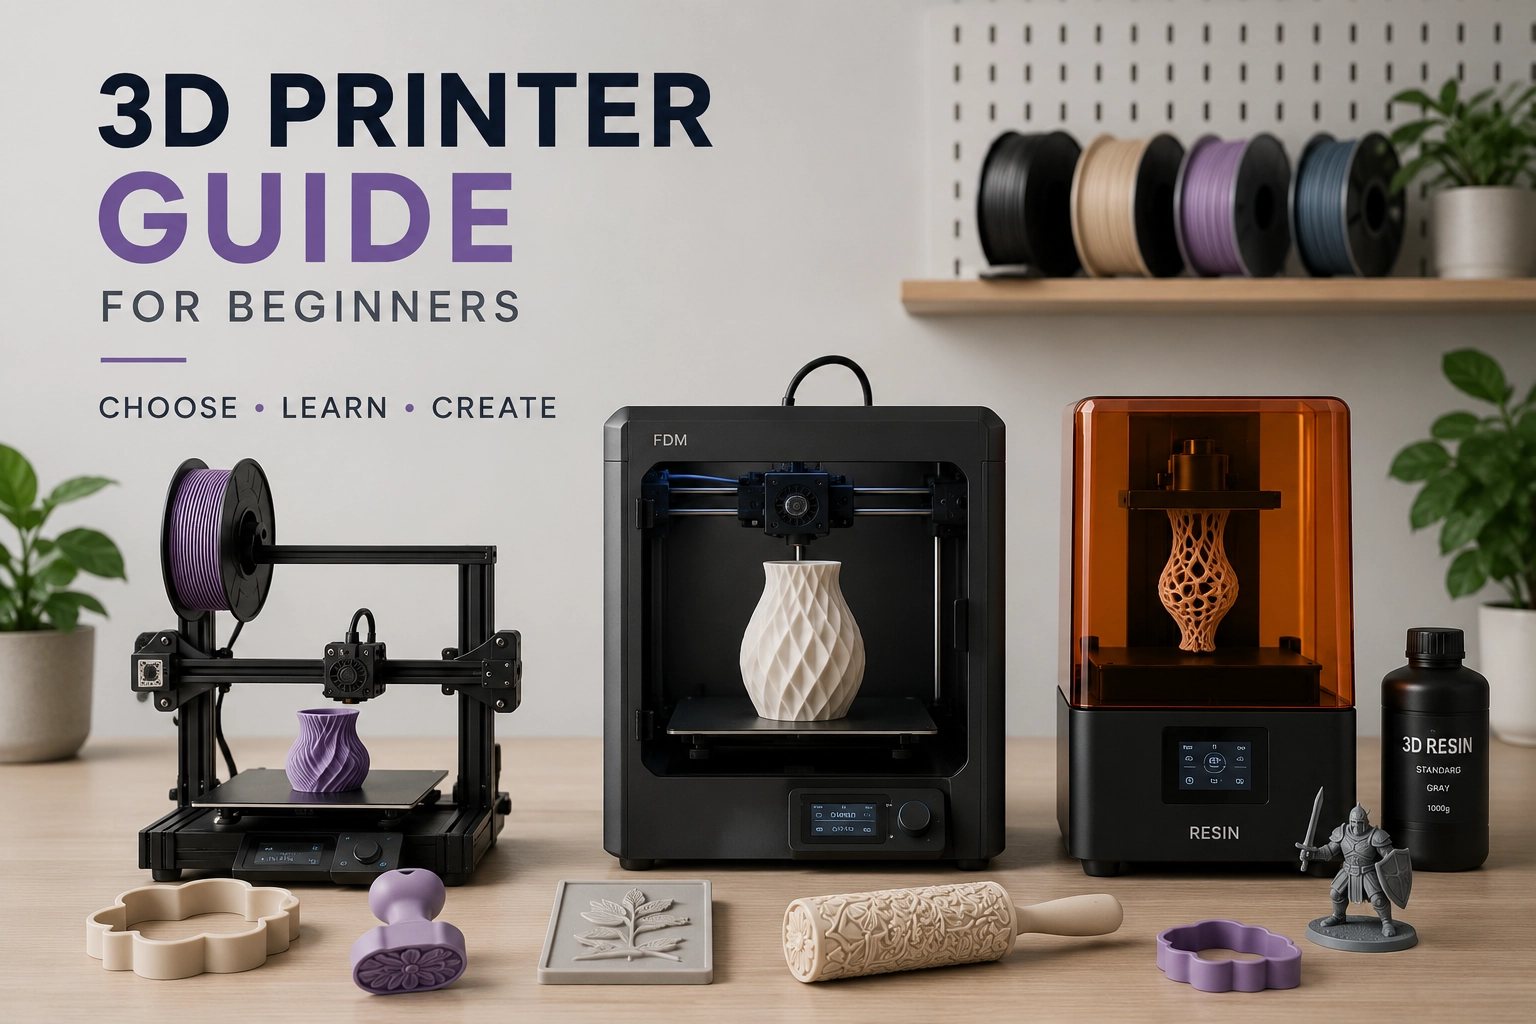
PLA filament is one of the most common materials used for 3D printed cookie cutters. It is popular because it prints cleanly, holds shape well, and works with many desktop 3D printers. For small-batch custom cookie cutters, PLA is often a practical material choice.
However, the material is only one part of the decision. The cutter design, printer setup, nozzle condition, surface cleanliness, print settings, and post-processing all affect whether the finished tool is appropriate for dough contact. If the cutter will touch food, always review the filament manufacturer’s guidance and use equipment and cleaning practices suitable for food-contact applications.
Layer lines are another practical consideration. FDM prints are built layer by layer, which can leave small grooves. These grooves may hold flour, dough, or moisture if the cutter is not cleaned carefully. For many makers, this means using printed cutters thoughtfully, washing them by hand, avoiding heat that could deform the plastic, and replacing cutters when they show wear.
From a design perspective, PLA works best when the STL file is built with the material in mind. Very thin walls, fragile points, and overly complex internal details may not survive repeated use. Good digital preparation helps the cutter print cleaner and perform better.
Common Mistakes When Creating Custom Cookie Cutters
Most cookie cutter issues come from the design stage, not the final print. A cutter can be technically printable but still frustrating to use. Before printing a custom design, watch for these common problems:
- Too much detail: Tiny lines, sharp points, and narrow gaps may not cut well or may break during use.
- Weak wall structure: Walls that are too thin can flex, crack, or fail during printing.
- Blunt cutting edge: A thick lower edge may press dough down instead of cutting it cleanly.
- No comfortable rim: A cutter without a thicker top edge can be uncomfortable to press.
- Poor scale choice: A design may look good on screen but become too small for decorating or too large for packaging.
- Messy image conversion: Rough artwork can create jagged cutter walls unless the file is cleaned first.
- Ignoring dough behavior: Dough spreads, softens, and sticks, so the cutter should be designed for real baking conditions.
These problems are easier to fix digitally than after the cutter has already been printed. If your first version feels too delicate, too detailed, or too hard to clean, the STL can often be adjusted before the next print. That is one of the biggest advantages of using a digital workflow.
Ready-Made Cutter vs Custom Cookie Cutter STL
Ready-made cookie cutters are useful when you need a common shape quickly. Hearts, stars, circles, pumpkins, trees, animals, and seasonal shapes are easy to find in metal or plastic. If the design is standard and the size works, buying a ready-made cutter may be enough.
A custom cookie cutter STL makes more sense when the design needs to be personal, branded, themed, or specific to your shop. A bakery logo, pet portrait, wedding monogram, product shape, character-inspired silhouette, or unique holiday set usually needs a custom file.
Option Best For Limitation Ready-made cutter Common shapes and quick baking projects Limited personalization and sizing control Downloaded STL Simple 3D printing tests and hobby use May not match your exact design, scale, or use case Custom STL file Logos, drawings, themed sets, small-batch selling, branded cutters Needs clear artwork and proper design preparationFor Etsy sellers, bakery owners, and handmade product businesses, custom STL design offers more control. You can create coordinated collections, test seasonal products, adjust sizes, and refine designs before printing multiple cutters. A custom cookie cutter maker can help turn those ideas into files that are easier to produce and repeat.
How to Prepare Your Artwork Before Making a Cookie Cutter
You do not need advanced design experience to start, but better input usually creates a better output. Before turning a drawing, logo, or image into a cookie cutter, prepare the artwork as clearly as possible.
Use a high-contrast image where the main shape stands out from the background. Remove shadows, textures, and extra marks if possible. If you are photographing a drawing, place it on a flat surface with even lighting. If you are using a logo, provide the cleanest version available, preferably with a transparent or plain background.
It also helps to decide the final size early. A design that works as a 5-inch cookie may not work as a 2-inch mini cutter because small details become harder to cut and decorate. Think about how the cookie will be used: party favors, bakery boxes, decorated cookies, children’s baking, holiday sets, or branded gifts.
Before exporting the final file, you can use an online STL editor to review the cutter shape, check the scale, and prepare the design for 3D printing.
Final Thoughts: Start with the File, Not the Printer
Making a cookie cutter from a drawing, logo, or image is one of the most practical ways to turn a creative idea into a physical tool. But the result depends heavily on the digital model. The artwork gives the cutter its personality. The STL file gives it structure.
A good file should balance design accuracy with real-world use. It should preserve the idea while making smart adjustments for dough, cutting edges, wall thickness, comfort, scale, and printing. This is especially important if you are creating cutters for a small shop, bakery, Etsy store, party business, or seasonal product collection.
Before you spend time printing multiple versions, make sure your cookie cutter starts with a clean, printable STL file. If you already have a sketch, logo, reference image, or product idea, you can turn your drawing into a cookie cutter STL and move from concept to test print with more confidence.
Key Takeaways
- A drawing, logo, or image can become a custom cookie cutter, but it must be converted into a 3D printable file first.
- An STL file controls the cutter’s shape, height, wall thickness, cutting edge, and usability.
- Simple, bold artwork usually works better than images with tiny details, shadows, or unclear edges.
- PLA filament is commonly used for 3D printed cookie cutters, but food-contact use requires careful material and cleaning decisions.
- Custom STL files are especially useful for bakeries, Etsy sellers, party businesses, and makers creating branded or seasonal cutter designs.
- The best cookie cutters start with clean digital geometry before they ever reach the printer.
FAQ
Can I make a cookie cutter from a drawing?
Yes. A drawing can be turned into a cookie cutter by cleaning the artwork, simplifying the outline, converting it into 3D geometry, and exporting it as a printable STL file. Clear, bold drawings usually work best.
Can I turn a logo into a cookie cutter?
Yes. A logo can become a custom cookie cutter, but it may need to be simplified for dough cutting. Small text, thin lines, and complex details may work better as embossing or stamp features rather than cutting edges.
What file do I need to 3D print a cookie cutter?
Most 3D printed cookie cutters are made from STL files. An image file can be used as the starting reference, but the final cutter needs 3D geometry that slicing software can prepare for printing.
Is PLA filament good for cookie cutters?
PLA filament is commonly used for 3D printed cookie cutters because it prints cleanly and holds shape well. For food-contact use, always consider the filament guidance, printer setup, cleaning process, and how the cutter will be used.
Why does my cookie cutter design need to be simplified?
Cookie dough cannot capture every tiny detail the way a screen can show it. Simplifying the design helps the cutter release dough more cleanly, print more reliably, and create cookies that are easier to decorate.
If you have a sketch, logo, reference image, or rough idea, the next step is turning it into a clean STL file before printing. CreateMold helps makers prepare custom cookie cutter files that can be tested, adjusted, and used for small-batch production without starting from complex CAD software.